Having a new log burner fitted is exciting, particularly when it comes to the colder months and you can look forward to getting a fire going.
However, it’s fair to ask, can you use a log burner straight after installation? Yes, depending on what materials were used during installation. For example, if the area was tiled or sealed, you’ll need to wait for everything to cure before lighting your log burner. Other than that, nothing is stopping you from using your log burner straight away.
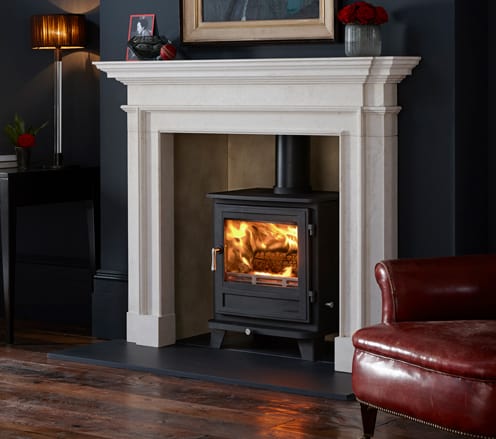
When to Use Your New Log Burner
How soon after installation and signed off you use your log burner mainly depends on the surrounding area. The log burner itself is fine to use straight away (as discussed below), but you need to consider other things.
For example, if you had work done to the chimney or a new fireplace fitted, you’ll need to make sure everything is dry and cured before you burn. However, if the log burner is the last thing to be installed, this should be the case already.
So, if it’s just a case of having a log burner fitted, the best thing to do is light a fire in it as soon as you can. However, this can depend on the type of log burner, too, so ask your installer for a specific answer.
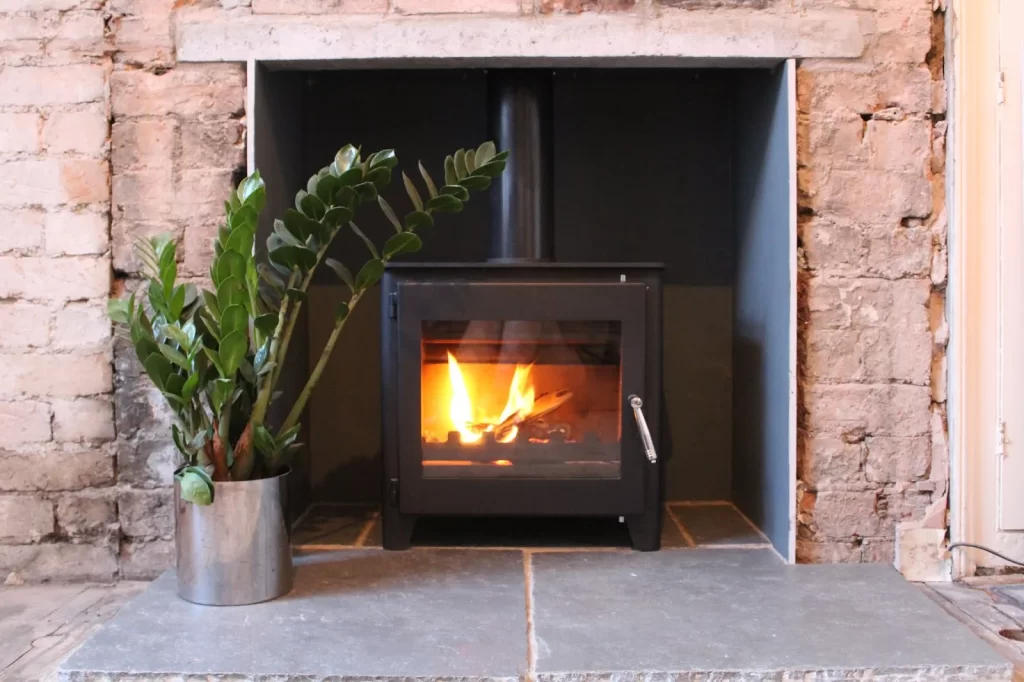
How Do You Burn in a New Wood Stove?
Every wood stove is different in terms of treatment and management. However, there are some general tips for burning your first fire in it.
There’s a how-to guide below, but these are more like considerations to bear in mind before you begin.
1. Off-gassing
If your stove is painted, be ready for it to smell bad. The paint needs to cure, which you can do by burning a small fire in it.
However, this really stinks, so you’ll want to do this with all the windows and doors open. As such, it might not be the best idea to install a new stove in the winter!
2. Don’t overheat
Advising you to not overheat a stove might sound counter-intuitive, but it can result in long-term damage. Cast iron (a popular stove material) can endure high temperatures, provided you ease it in.
Your first fires should be short and low temperature. If you notice any part of the stove glowing red, reduce the airflow immediately.
3. Expect it to get dirty
Burning fuel at lower temperatures will generally result in more smoke and by-products. As such, your stove could get pretty dirty during the breaking-in process.
Don’t worry about this – it’s perfectly normal. Wait until after you’ve broken it in to give it a good clean.
4. Be careful with your fuel
You’ve probably already been told to only use properly seasoned wood with a moisture content of around 20%.
But another useful tip is to never use frozen wood, as the temperature change can cause a lot of damage.
If it’s cold outside and your logs might be frozen, bring a stack in and place near the fire. Allow them to warm a bit before you start burning them.
5. Think about the stove’s material
Cast iron is one of the best stove materials, but steel is a close second. A third option is soapstone, which can retain a surprising amount of heat.
However, it also holds moisture, so make sure you follow the burning-in process every autumn if you live somewhere humid.
How to Break in a New Stove – Log Burner First Use
Breaking in a new stove is pretty easy. Of course, ask your installer or the manufacturer for any tips specific to the model you’ve bought.
But the guide below is general and should work for using pretty much any log burner for the first time.
1. Open all the air vents
Open your stove’s air vents, but make sure the combustors or dampers are closed. Also, if you have an ash pan, make sure the door is closed before you start to burn.
This might seem obvious, but it’s worth checking if you’re unfamiliar with your new model.
2. Clean the glass
Although the glass will get black from soot during the next stages, you want to make sure it’s clean first. The high temperature could bake fingerprints into it, which doesn’t look great.
Just use some white vinegar or glass cleaner and make sure you wipe off as much as possible.
3. Starting a fire
Loosely scrunch up some newspaper or similar and place in the stove. Stack small kindling on top and light the paper. In theory, this should start the fire. Close the door once a flame is established.
4. Monitor the fire
Keep this fire going for about an hour, adding more kindling if needed (no normal fuel, though). You don’t want the stove’s surface temperature to exceed 93 degrees C.
Make sure you buy a thermometer to monitor this. Once it’s been going for an hour or so, let it burn out. As mentioned, this stage will likely produce a lot of smoke.
5. Repeat
Let the stove cool to room temperature, which will probably take a few hours. Once this has happened, repeat stage 4 to burn another small fire.
Let the temperature increase to 148 degrees C this time and then let it burn out. Repeat for a third time, letting it reach 204 degrees C.
6. Use as normal
After the final fire has burnt out, you’re fine to use the fire as normal. You might find it smokes occasionally during the first few months, but this is normal.
If it continues and looks bad, speak to a professional because something might not be right.
How Soon Can I Light My Log Burner After Installation?
Using a new stove properly is vital for energy efficient long-term use. After all, the last thing you want to do after spending a lot of money on a stove is to break it after 1 use!
Follow the guide above for how soon can you use a log burner after installation and you shouldn’t have any issues, but don’t forget to contact a professional if you have any concerns.

